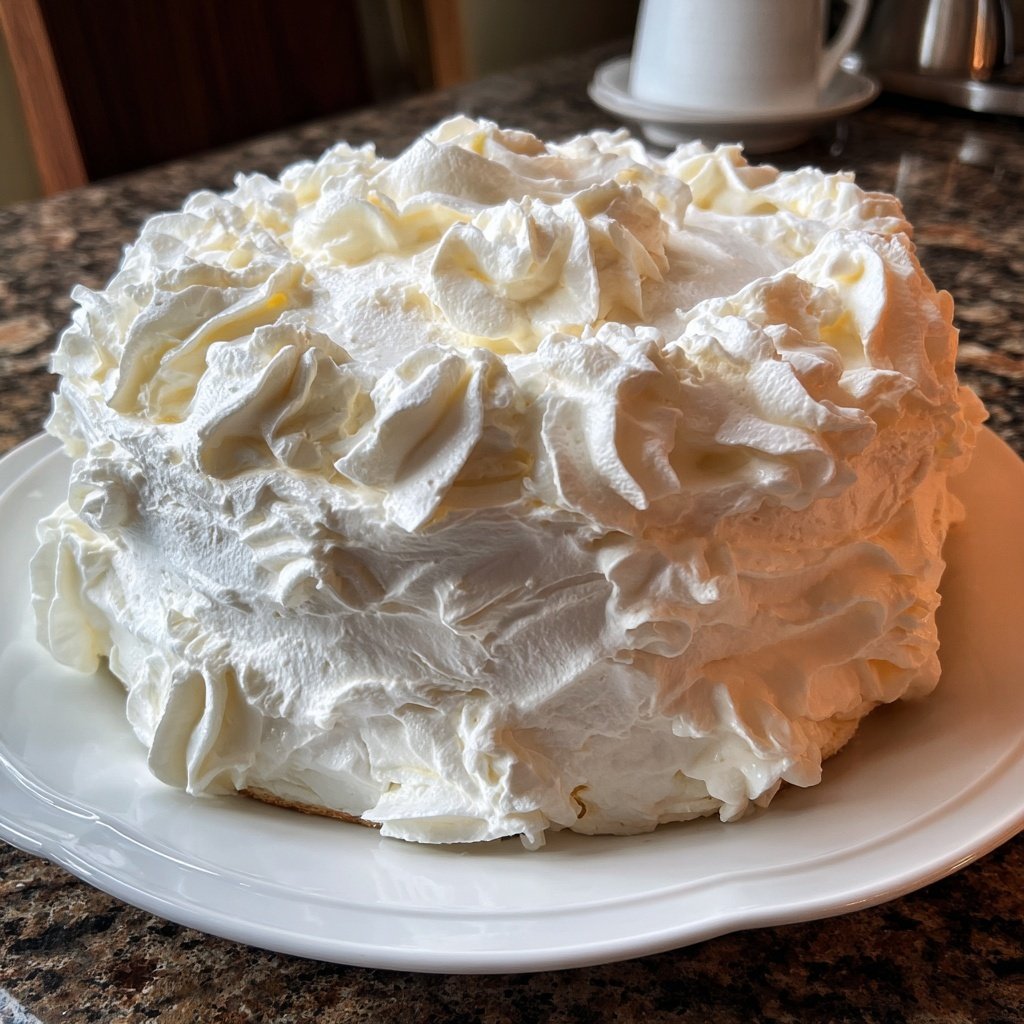
Galentine's Whipped Cream Cake
Highlighted under: Celebration Food Recipes
I love celebrating Galentine's Day with my friends, and this whipped cream cake is the ultimate indulgence! Made with layers of soft, fluffy cake complemented by an airy whipped cream frosting, it’s a delight to create and even better to share. The delicate sweetness and light texture make it perfect for a fun gathering or a day of pampering with the girls. Plus, it's customizable with your favorite flavors and fruits, ensuring every slice feels special and personal. Let's dive into this delightful recipe!
When I first made this cake, I was amazed by how effortless it was to whip up such a stunning dessert. Using whipped cream not only lightens the cake but also adds a beautiful gloss and richness that truly elevates the experience. One tip I discovered is to chill your bowl and beaters for the cream to whip up faster and hold its shape better.
During a recent Galentine's Day celebration, my friends and I enjoyed decorating the cake together with seasonal fruits and edible flowers. It really brought everyone together, making the baking process as fun as the eating! The combination of soft cake and fluffy whipped cream is simply irresistible.
Why You'll Love This Recipe
- Rich and creamy whipped cream texture that balances perfectly with the cake
- Versatile with endless possibilities for flavor variations
- An unforgettable centerpiece for your Galentine's Day celebration
Tips for Success
When whipping the heavy cream for the frosting, use a chilled bowl and beaters to achieve the best results. This ensures that the cream whips up quickly and maintains its volume. Start whipping at medium speed to introduce air gradually, then increase to high speed as the cream begins to thicken. Stop as soon as stiff peaks form—overwhipping can lead to a grainy texture, which you want to avoid for a smooth frosting.
Be mindful of the baking process; every oven is different, so start checking if the cakes are done at 20 minutes. Insert a toothpick in the center; it should come out clean or with a few moist crumbs, indicating that the cakes are perfectly baked. If you see wet batter, give it a few more minutes and double-check. Also, letting the cakes cool in the pans for 10 minutes helps to release them cleanly without breaking.
Customization Ideas
This cake is incredibly flexible, allowing you to switch up the flavors to match your preferences. Consider adding zests, such as lemon or orange, into the batter for a citrusy twist. You can also infuse the whipped cream with extracts like almond or coconut, providing a richer flavor profile. Don’t shy away from experimenting with different flour types, such as cake flour for a lighter crumb or even gluten-free flour blends if needed.
For added texture and flavor, incorporate mix-ins like chocolate chips, nuts, or coconut flakes into the cake batter. Such additions not only enhance the taste but also create delightful surprises for those enjoying the cake. If you're feeling adventurous, layer the cake with fruit compotes or flavored jams between the cake layers to add a moist and flavorful element.
Ingredients
For the Cake
- 2 cups all-purpose flour
- 1 cup granulated sugar
- 1/2 cup unsalted butter, softened
- 1 cup milk
- 3 large eggs
- 2 teaspoons baking powder
- 1 teaspoon vanilla extract
- 1/2 teaspoon salt
For the Whipped Cream Frosting
- 2 cups heavy cream
- 1/2 cup powdered sugar
- 1 teaspoon vanilla extract
- Seasonal fruits for decoration (e.g., strawberries, raspberries)
Instructions
Prepare the Cake Batter
Preheat the oven to 350°F (175°C). In a large bowl, cream together the softened butter and granulated sugar until light and fluffy. Add the eggs one at a time, mixing well after each addition. Stir in the vanilla extract.
Combine Dry Ingredients
In a separate bowl, whisk together the flour, baking powder, and salt. Gradually add this mixture to the creamed mixture, alternating with the milk until smooth.
Bake the Cake
Pour the cake batter evenly into two greased 9-inch round cake pans. Bake for 25 minutes or until a toothpick inserted in the center comes out clean. Allow the cakes to cool in the pans for 10 minutes before transferring to wire racks.
Make the Whipped Cream Frosting
In a chilled bowl, whip the heavy cream with the powdered sugar and vanilla extract until stiff peaks form. Do not overwhip.
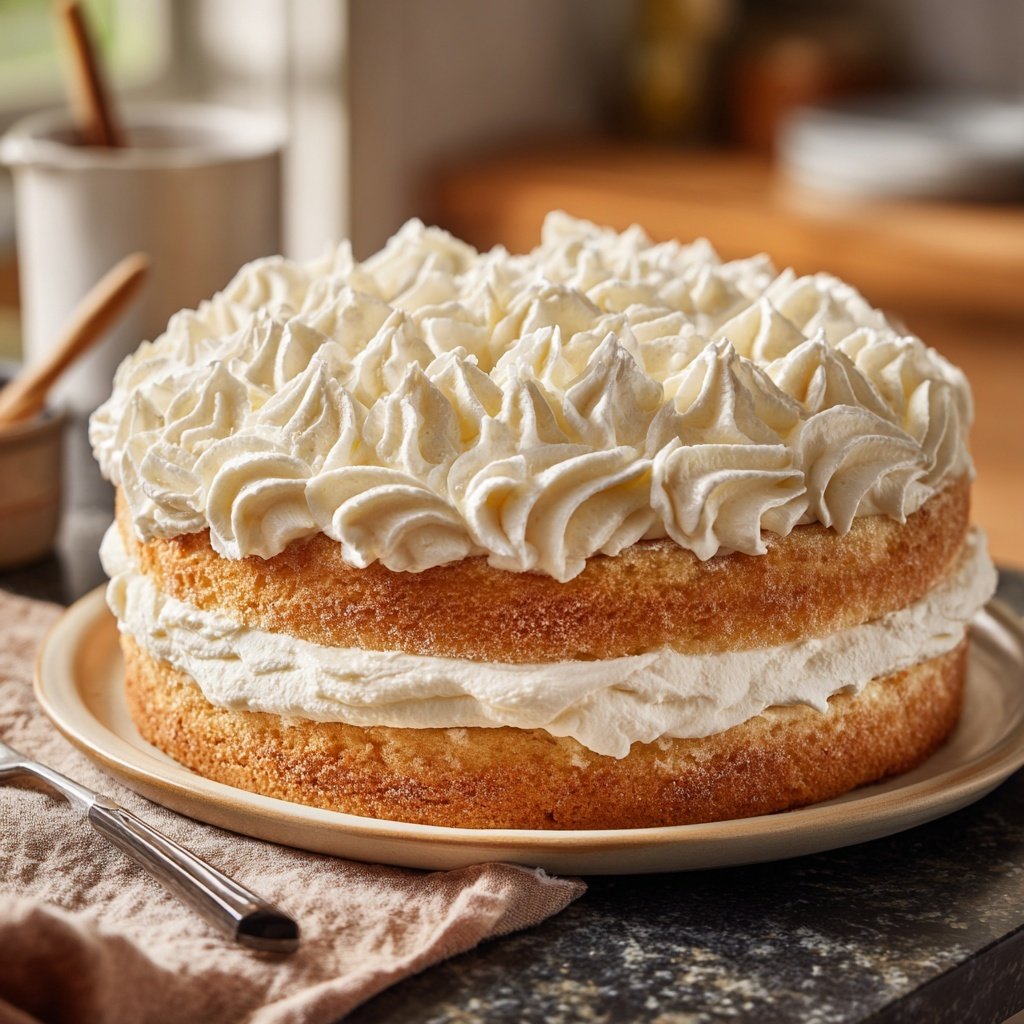
Assemble the Cake
Once the cakes are completely cool, place one layer on a serving plate. Spread a generous layer of whipped cream on top, then place the second layer of cake on top. Frost the top and sides with the remaining whipped cream, smoothing it out with a spatula.
Decorate
Top with fresh seasonal fruits and additional decorations as desired. Cut into slices and serve!
Pro Tips
- To make this cake even more special, consider adding a layer of fruit preserves between the cake layers for extra flavor. You can also experiment with flavored extracts in the whipped cream, like almond or orange for a twist!
Storage and Make-Ahead Tips
You can prepare the cake layers ahead of time—bake them in advance and allow them to cool completely. Wrap the cooled cakes in plastic wrap and store them in the refrigerator for up to three days or freeze them for up to a month. If freezing, ensure they are well-wrapped to prevent freezer burn. Thaw in the refrigerator overnight before frosting.
The whipped cream frosting is best used immediately for optimal texture, but if you have leftovers, store it in an airtight container in the fridge for up to 24 hours. Keep in mind that the whipped cream may lose some airiness, but re-whipping it gently before using will help restore its fluffiness.
Serving Suggestions
For an extra special touch, consider serving each slice with a drizzle of berry sauce or a dollop of fruit preserves on the plate. Fresh mint leaves also add a pop of color. Pair your cake with a refreshing beverage like sparkling water infused with citrus or a light, fruity tea to enhance the celebratory feel of your Galentine’s gathering.
Cut the cake into generous slices and offer a variety of toppings on the side like shaved chocolate, toasted coconut, or edible flowers for additional personalization. This offers everyone a chance to get creative and make their slice unique, making your gathering feel extra festive and fun.
Questions About Recipes
→ Can I make this cake gluten-free?
Absolutely! You can substitute the all-purpose flour with a gluten-free baking blend.
→ How do I store the leftover cake?
Store any leftovers in an airtight container in the refrigerator for up to 3 days. The whipped cream may soften over time.
→ Can I freeze this cake?
Yes, you can freeze the cake layers individually wrapped in plastic wrap for up to 3 months. Just frost it after thawing.
→ What can I use instead of heavy cream?
You can use coconut cream for a dairy-free version, but it may have a different flavor profile.
Galentine's Whipped Cream Cake
Created by: The Chefwoven Team
Recipe Type: Celebration Food Recipes
Skill Level: Intermediate
Final Quantity: 8 servings
What You'll Need
For the Cake
- 2 cups all-purpose flour
- 1 cup granulated sugar
- 1/2 cup unsalted butter, softened
- 1 cup milk
- 3 large eggs
- 2 teaspoons baking powder
- 1 teaspoon vanilla extract
- 1/2 teaspoon salt
For the Whipped Cream Frosting
- 2 cups heavy cream
- 1/2 cup powdered sugar
- 1 teaspoon vanilla extract
- Seasonal fruits for decoration (e.g., strawberries, raspberries)
How-To Steps
Preheat the oven to 350°F (175°C). In a large bowl, cream together the softened butter and granulated sugar until light and fluffy. Add the eggs one at a time, mixing well after each addition. Stir in the vanilla extract.
In a separate bowl, whisk together the flour, baking powder, and salt. Gradually add this mixture to the creamed mixture, alternating with the milk until smooth.
Pour the cake batter evenly into two greased 9-inch round cake pans. Bake for 25 minutes or until a toothpick inserted in the center comes out clean. Allow the cakes to cool in the pans for 10 minutes before transferring to wire racks.
In a chilled bowl, whip the heavy cream with the powdered sugar and vanilla extract until stiff peaks form. Do not overwhip.
Once the cakes are completely cool, place one layer on a serving plate. Spread a generous layer of whipped cream on top, then place the second layer of cake on top. Frost the top and sides with the remaining whipped cream, smoothing it out with a spatula.
Top with fresh seasonal fruits and additional decorations as desired. Cut into slices and serve!
Extra Tips
- To make this cake even more special, consider adding a layer of fruit preserves between the cake layers for extra flavor. You can also experiment with flavored extracts in the whipped cream, like almond or orange for a twist!
Nutritional Breakdown (Per Serving)
- Calories: 380 kcal
- Total Fat: 26g
- Saturated Fat: 15g
- Cholesterol: 195mg
- Sodium: 85mg
- Total Carbohydrates: 32g
- Dietary Fiber: 3g
- Sugars: 24g
- Protein: 6g